
Sidebar
wlbrdkaml
This is an old revision of the document!
Introduction
The following are instructions for building an RDKv5 image for the DTVKit White Label Box using the Amlogic T962D4 chipset. The release is using Amlogic's RDK v5.2.1 release, which uses RDK-V 2023Q2, so includes slightly later versions of some of the RDK packages that a pure RDK5 image. Access is needed to the RDK-hosted Amlogic git repositories to download the Amlogic specific recipes and software.
Setup
The build is based on RDK Yocto 3.1 (dunfell) so Ubuntu 18.04 LTS is recommended as the build environment. Follow the instructions provided by Amlogic for cloning their code and recipes into a separate directory (referred to as <rdk_dir> below), but the following steps should work:
- mkdir <rdk_dir>
- cd <rdk_dir>
- repo init -u https://code.rdkcentral.com/r/collaboration/soc/amlogic/aml-accel-manifests -b rdk-next -m rdk-5.2.xml –repo-branch=v2.9
- repo sync -j 4 --no-clone-bundle
- git clone git@github.com:DTVKit/meta-dtvkit-aml.git
Building
- source meta-dtvkit-aml/setup-environment
- bitbake lib32-rdk-generic-mediaclient-image
Flashing
When the build has completed successfully, two binary installation files will be found in “<rdk_dir>/build-mesonsc2-5.4-lib32-ah212-dxd6828/tmp/deploy/images/mesonsc2-5.4-lib32-ah212-dxd6828/”. One is called “aml_upgrade_package.img” and this is a full system image including the bootloader, and the other is called “aml_upgrade_package_ota.img”, which is also a full system image but it doesn't include the bootloader. Unless you know you need to reflash the bootloader it's safer to use the “ota” image so the bootloader is still available if anything happens during the flashing process, such as a power failure.
The image file to be used should either be copied to a FAT formatted USB disk, or if the STB is on the network then you can copy the file to it using:
- scp <image filename> root@<WLB IP address>:/tmp
You will need access to a shell on the STB to update the image. If the box is on a network and you know its IP address then you can ssh on to it:
- ssh root@<WLB IP address>
Or you can use the serial console:
- Connect the serial adapter to the STB as shown here:
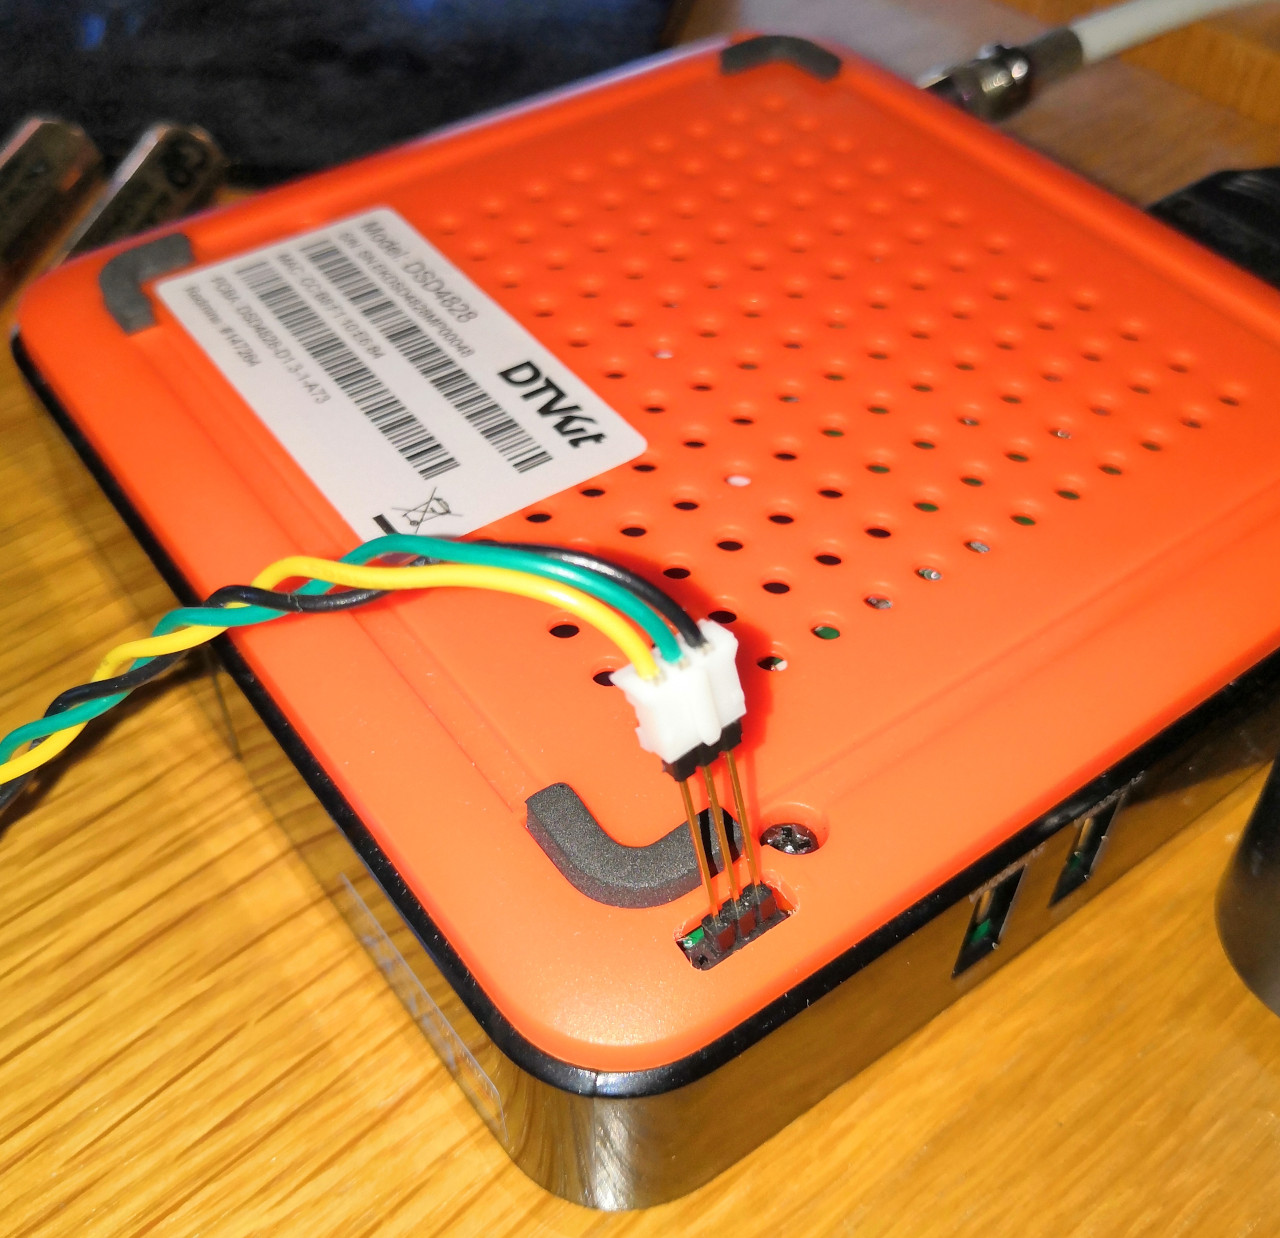
- Use a serial communication program to connect to the serial and use the following settings: 921600 bps, 8 data bits, 1 stop bit, no parity, no hardware flow control.
If the image is being transferred to the STB via USB then plug the USB into the STB and copy the image file to the /tmp directory on the STB.
Now proceed with the following to install the image:
- mfrUtil -u /tmp/<image filename>
This will take around 30 seconds and when it finishes the STB should be rebooted, which can be done by power cycling it or from the console do:
- reboot -f
wlbrdkaml.1730745118.txt.gz · Last modified: 2024/11/04 18:31 by steve
Except where otherwise noted, content on this wiki is licensed under the following license: CC Attribution-Share Alike 4.0 International
